By Devon Sereda Goldie
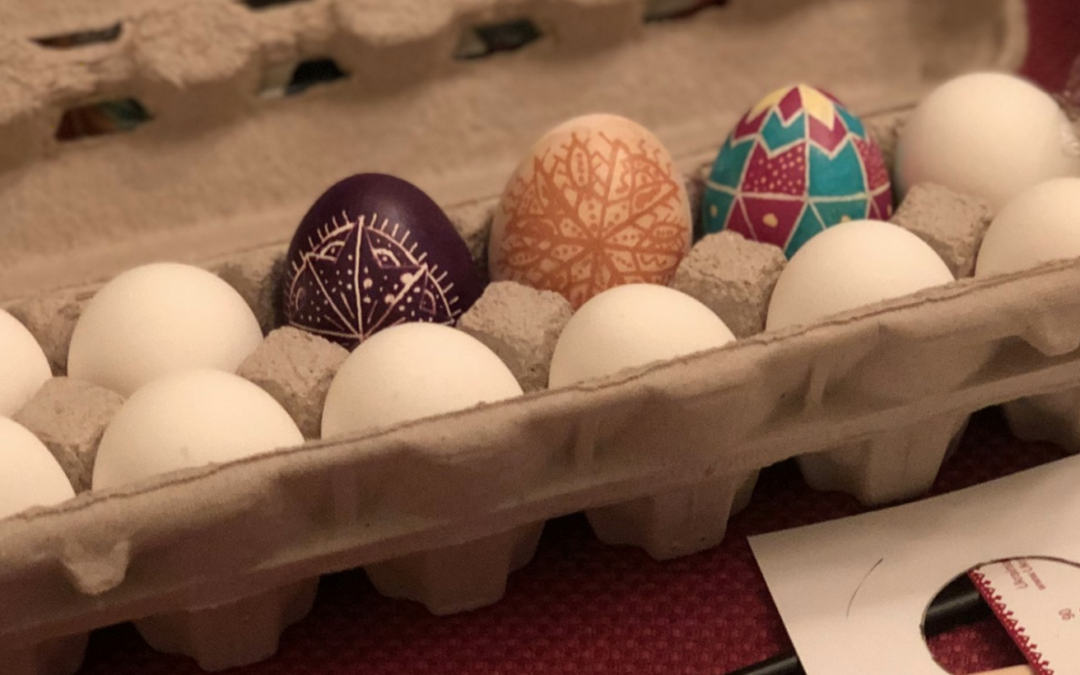
What have you been doing to keep yourself entertained during quarantine? What better to do while social distancing than practice some of my favourite Ukrainian traditions? It’s Vice President National Devon here! When I’m not working on school work, I’ve been “writing” pysanky! Did you know that the word pysanky comes from the Ukrainian verb “pysaty” – “to write/inscribe”? That’s why the practice of making pysanky is called writing! This year I decided to try some new techniques including colour blending, washing back, and acid etching! Want to learn more? Keep reading!
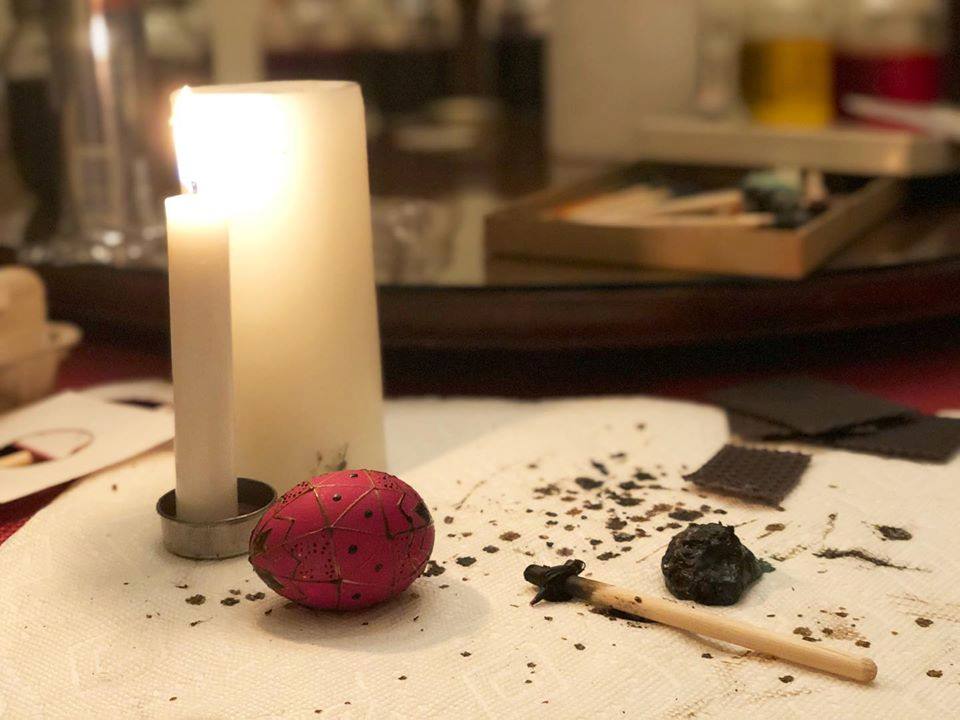
The art of pysanky dates all the way back to Pre-Christian times in Ukraine. Christianity came to Ukraine in 988 AD, so we’re talking ancient here! The eggs are associated with annual spring traditions and rituals and carry symbolic meaning! Different patterns and designs carry different meanings – many of which are associated with new life, fertility, growth, and prosperity!
Colour Blending
This technique is great for creating watercolour-like effects on your pysanky! Ukrainian EggCessories has a great blog post about colour blending on their website by Gail Kozun-Bruckner that I used to learn this technique! Check it out!
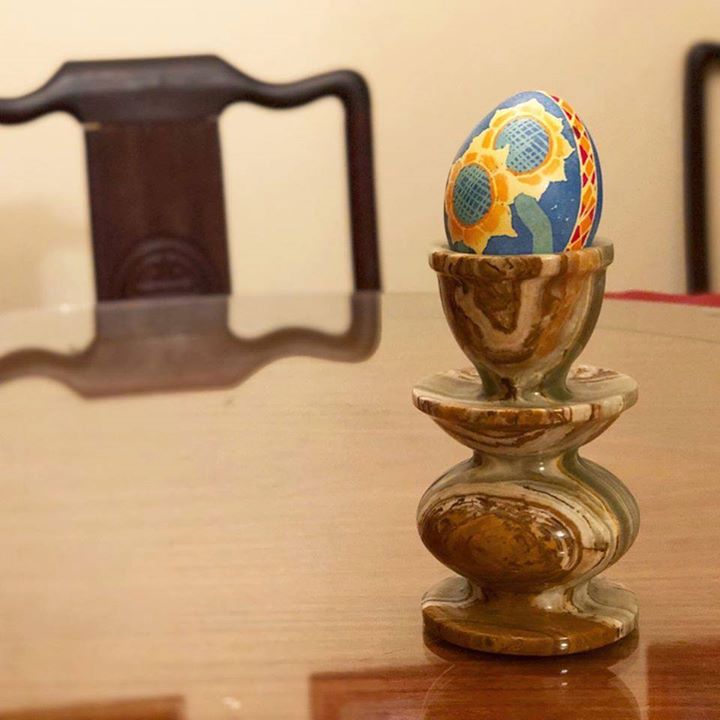
There are a few different ways to colour blend. The way that I tried involves a paintbrush! I started with yellow as the background colour for my sunflower petals and then used my paintbrush to paint and blend orange dye on the base of the petals (see below). This created a beautiful, blended effect that I’m really happy with! I called this egg «Соняшник» // “Sunflower”. The sunflower is symbolic of life, love, and good fortune.
Washing Back
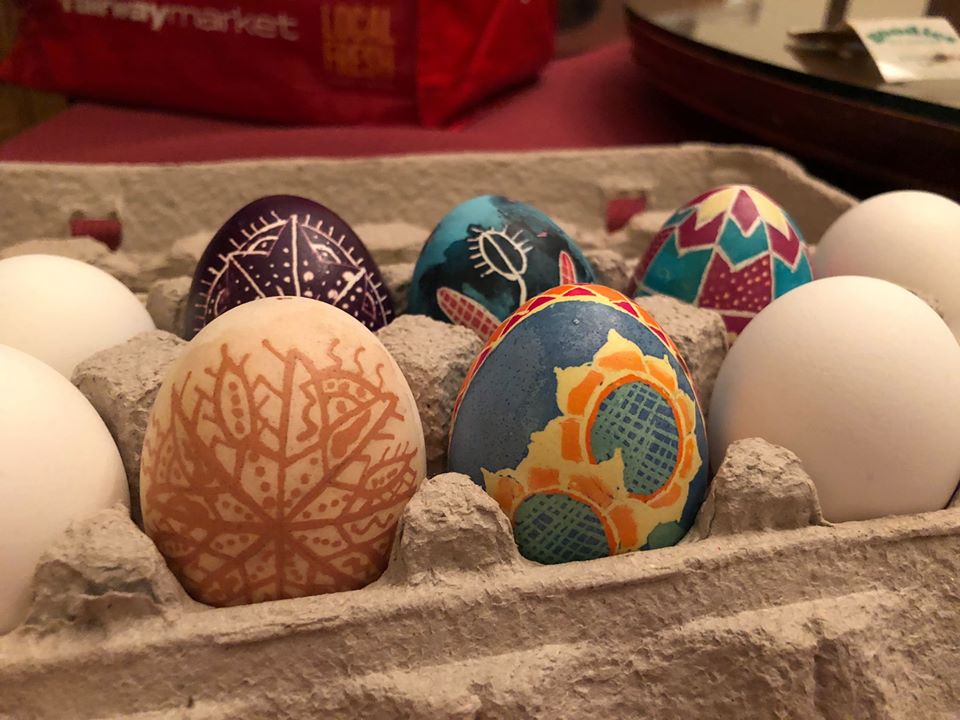
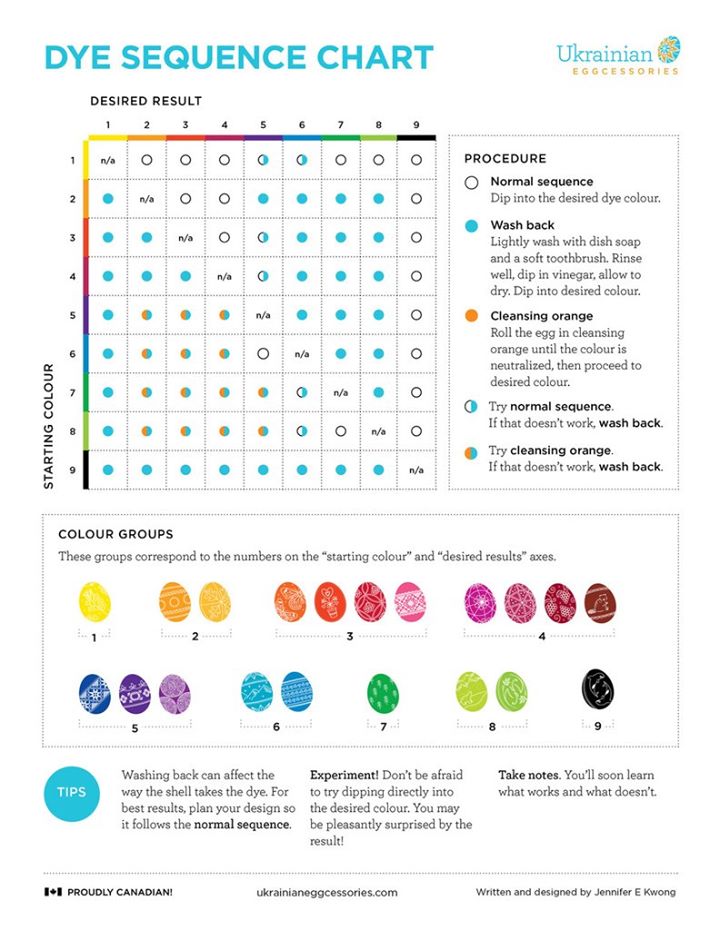
Have you ever been writing a pysanky and wanted to go from red dye to green? Only to end up with a deep green or purple colour? Washing back is a great way to counter this problem! And it’s exactly what it sounds like. Before you dip your egg in the next colour, you gently wash your pysanky with dish soap and a toothbrush. After you have rinsed it well, dip it in vinegar and allow the egg to dry. This process removes a significant amount of the dye from your egg, allowing the next colour to adhere! Don’t worry – it doesn’t damage or change the colour under the wax. Ukrainian EggCessories has created an incredibly helpful dye sequence chart that tells you when back washing is recommended! Check it out!
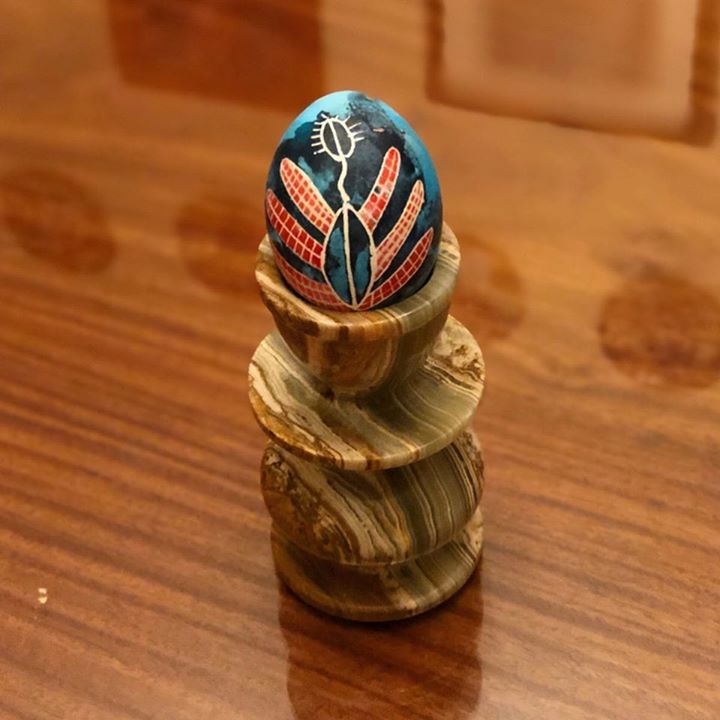
It’s worth noting that washing back can change the way that the egg takes dye. When I tried this technique for the first time, I made some mistakes and my egg ended up looking kind of tie-dyed! While it wasn’t what I expected, I love the result! This is my happy accident egg, that I call «Насіння» // “Seed”.
Acid Etching
The last technique I tried is acid etching! This technique utilizes vinegar to create cool patterns, shades, and textures on your pysanky. The basic science behind acid etching is this: egg shells contain calcium carbonate and vinegar sets off a chemical reaction that dissolves the calcium carbonate. Any area of the egg that is covered with wax won’t dissolve. By giving pysanky short vinegar baths, you can control how many layers of the egg shell are dissolved and play with variances in shade!
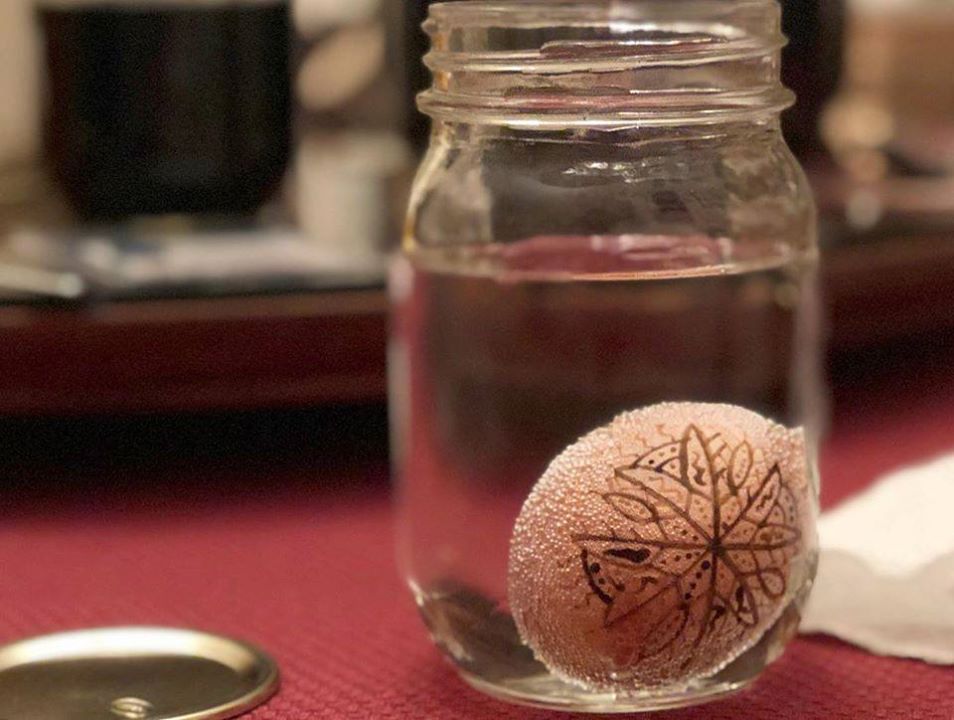
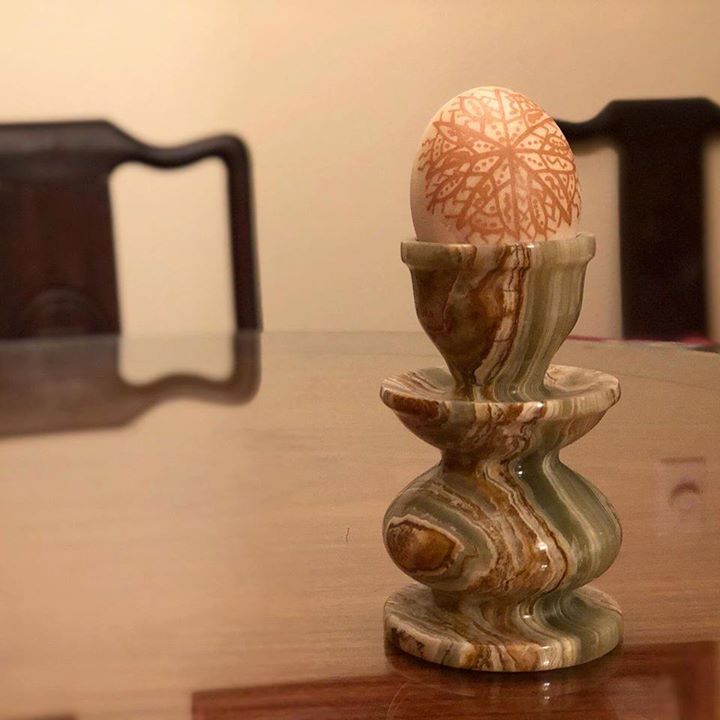
Coloured eggs (brown, blue, etc.) have a more noticeable effect, but you can use this technique on white eggs as well! Be aware that the eggs do absorb a bit of the vinegar, so you probably don’t want to eat these pysanky after decorating. For more info on acid etching, check out this Instructables article by Paige Russell. Here is my first acid etched egg – I call it «Вітряк» // “Windmill”!
And there you go — three new techniques you can use while writing pysanky! We would love to see your quarantine pysanky creations!
